Bring your own CI
Keep your runners, tests, and approval steps. Use Wodby CLI to build your stack and deploy from your existing workflow.
Connect your pipeline →CI/CD
Use built-in Wodby CI or keep the CI your team already knows. Build, push, and deploy your application stack, then follow every deployment in Wodby.
Choose the setup that fits your team and keep deployment history in Wodby.
Keep your runners, tests, and approval steps. Use Wodby CLI to build your stack and deploy from your existing workflow.
Connect your pipeline →Start from a Wodby boilerplate or add a pipeline to your repository. Run builds without setting up a separate CI provider.
Explore Wodby CI →The same stack-aware workflow powers built-in and external CI.
wodby ci buildBuild service images from your source using stack configuration or your own Dockerfile.
wodby ci pushUpload your images to Wodby Registry or a compatible external registry.
wodby ci deployRoll out the build to your target environment, for all services or selected services.
Use an official setup tool, then add Wodby build, push, and deploy commands to your pipeline.
wodby/actions/setup-wodby-cli@v1CircleCIwodby/setup-wodby-cli@1GitLab CIwodby/wodby-cli:2.0Using another provider or a self-managed runner? Use Custom CI with a Bash script →
See setup tools and pipeline examples →Keep your pipeline in Git and your build history alongside the app.
Use a pipeline from a Wodby boilerplate or define your own in .wodby/pipeline.yml. Wodby provides the build environment and CLI so your pipeline can install dependencies, build images, push, and deploy.
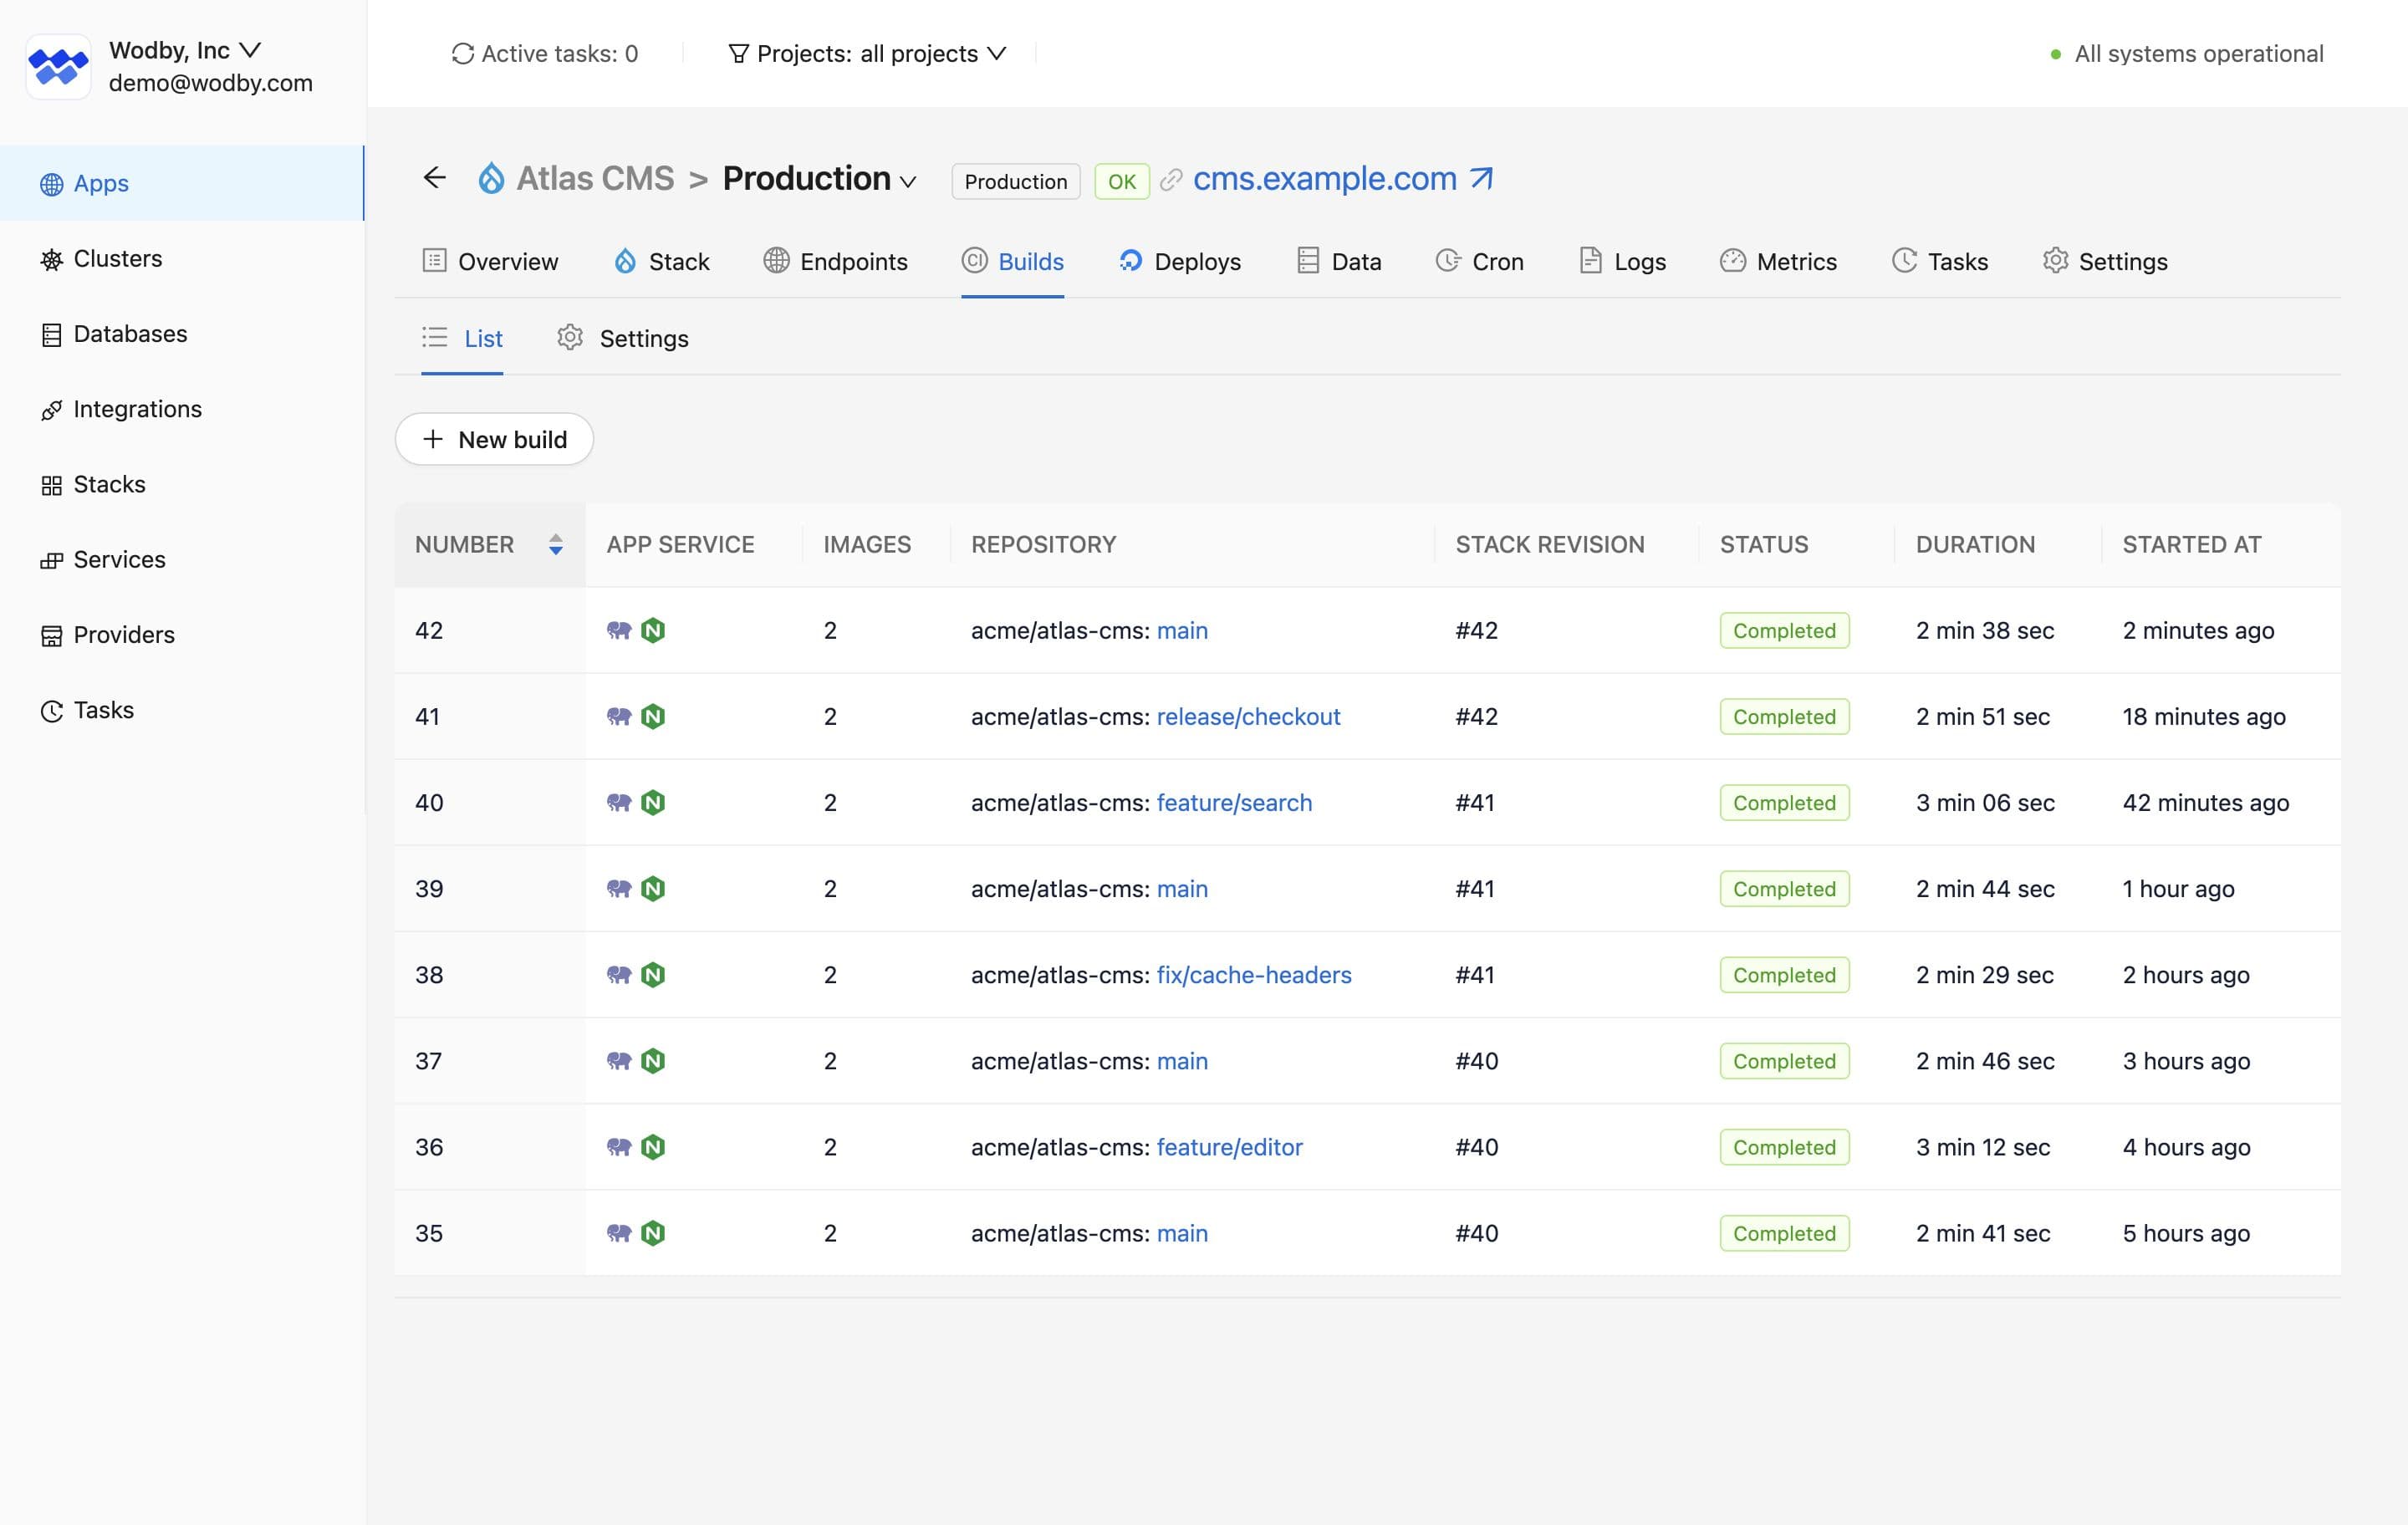
Use GitHub, GitLab, or Bitbucket as a build source for Wodby CI.
With external CI, your pipeline checks out the code. Wodby CLI reads Git metadata from that checkout, so you can build without separately linking the repository in Wodby.
Keep application-specific follow-up tasks with the code they belong to.
Define scripts in .wodby/post-deployment.yml to run after an eligible successful rollout. Use them with Wodby CI or external CI, and review their logs as a separate task.
A script failure appears as a post-deployment warning. It does not mark the application deployment as failed or trigger rollback, and you can retry the task without redeploying.
Configure post-deployment scripts →Follow deployment outcomes and choose an eligible previous build when an application image needs to be restored.
When an app service upgrade fails workload health checks, automatic rollback makes a best-effort attempt to restore that service to its latest successful release. Services that already deployed successfully are not reverted.
Build rollback restores application images. It does not downgrade the stack or restore databases, configuration, secrets, volumes, or other persistent data. Use backups for data recovery.
Review rollback behavior →Next step
Choose your CI provider and app type to find a concise pipeline you can adapt to your project.